Transated into English by Patricia Lima Carlos
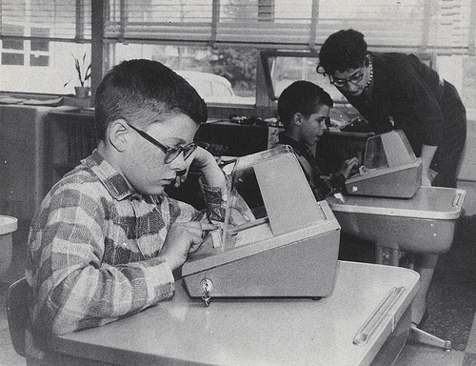
The idea of having the help of machines helping people to learn something, Learning Machines or Teaching Machines, is old and in the 50's, 60's and even after we saw them in several publications from all over the world, as shown in the Figure 1.

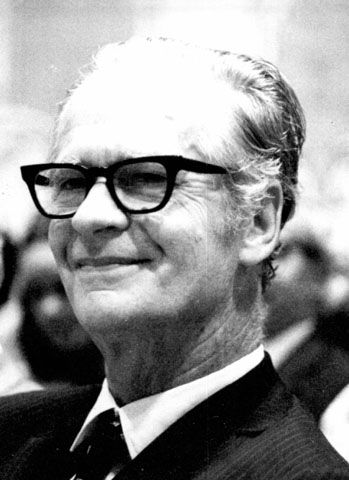
In the 1950s, B. F. Skinner was already attempting to apply his theories to the creation of automated teaching systems. The instructional system adapts to the progress of the student, realizing what should be the next lesson after an evaluation of the previous one.
Many courses which adopt programmed instruction (as we did in the 1970s) still adopt their ideas.

In the photo below we have Skinner’s teaching machine of 1954 which served as an inspiration for our project.

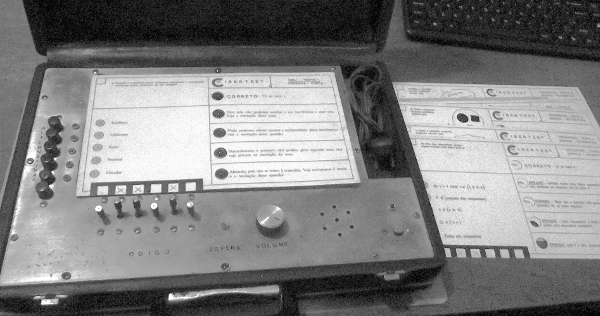
But it was in the 1970s that working with a friend, Dr. Max Berezovsky we had the idea of creating a totally national teaching machine, which we call Cibertest.
At that time, we did not have microcontrollers or computers, and digital electronics was not accessible in our country (Brazil), yet, for the development of a complex project.
We solved the problem with a logic system using keys and an electronic warning system and indicating the steps which the student should take in their study using the machine.
In the photo below, we have the picture of our prototype that I still have today (working) as a souvenir.

How it works
The basic idea is a workbook with the basic theory nonlinear sequence of cards containing questions and answers organized according to the degree of difficulty of the studied subject and with ramifications which contain explanations, according to a flow chart of actions, such as those used in common programs of computer.
When the handout indicates when it is time to carry out the evaluation, the first card is placed on the device and the corresponding code is programmed through a set of keys, as shown in the following figure.
This programming is given by the way the questions are formulated and according to what a wrong answer can indicate in which the student has a doubt.
If the student gets it right, he/she is forced to put the next card. Depending on the mistake, there may be a need for some reinforcement or even another card with an easier question on the same subject.
Once the card is inserted and the code is selected, the student selects the alternative on the side keys.
With this, the circuit is timed and after some time, the indication of what should be done is given by the lamps on the right side.
In the original version the pressure switches were used for the alternatives, reversible keys for code programming and common 5 V x 50 mA lamps for indication. At the time, the LEDs were still not common.
The reader can get an idea of how the assembly was laborious, by the photo which shows the device from the below.
The interesting thing is that, any subject can be taught by this device, by just having the handouts and the corresponding cards.
Nowadays, this can easily be done on a computer and even on a tablet with the touch screen feature.
Who knows, maybe the reader create his/her own teaching program and, more than that, can use artificial intelligence resources.
And, who knows, in a simpler version, one can employ a microcontroller like Arduino. Here is the challenge and soon we will make a video of our own prototype working.


